Auth0 provides different mechanisms like SAML, OAuth, OIDC, and WS-Fed. I have looked into OAuth and will cover that today. Before jumping into implementation let's talk about basic terms which are used in the implementation.
Identity
Identity is something that proves who you are. e.g. if you have booked a flight and show up at an airport they would check your passport and hence proves that you are the one who the ticket is booked for and they compare the Given name, surname, passport number, etc.
But here we are talking about digital identity, which consists of usernames, emails, and passwords. In some cases, it can be biometric as well like touch Id and face Id.
Authentication
Authentication is the process of validating that the provided user's identity details are valid and have been verified by the system. Once this is completed the system gets user identity which has information about the user e.g. name, age, maybe roles, or other information that is needed by the system.
Following are terms related to Authentication which you must have heard people talking about around you.
Single-factor
If you are using only a single form of authentication e.g just user name and password to get into the system. Or just by swiping your access card.
Two-factor or 2FA
2FA is the latest term that is very popular and is a must IMHO. There are a few ways you can set up 2FA
- Using one time passwords that are sent to your mobile/phone
- Use an Authenticator app and use a code from the app which is required to be entered every time to log in.
Multi-factor or MFA
MFA is when we use more than 2 pieces of a user's identity to verify them e.g. along with username/password and OTP, users are using some kind of biometric to get into the system.
Authorization
You must have seen the sign that reads "Authorized personnel only" at buildings or offices. That means that you need to special access code or badge to access those areas.
It works in a similar way in digital systems, once you are authenticated, the system gets the user's identity and with the identity, it will know what kind of access the user has. The most basic roles are admin users and not normal users. Admins have special access and can have powers to maintain the system and do other operational activities. Systems can have different roles and groups to manage different access levels for the users.
Now you know all the basic terms which are used when we set up any kind of system which involves setting up the login access and then customizing the system based on the level of access users have or what we say what role the user belongs to.
I hope these terms make sense to you. Feel free to do some more search and make sure you understand these terms before moving forward.
Ok, so now let's jump into some coding and see how we implement these in the real world.
Auth0 has a toolkit/SDK for native iOS apps and we will use the new Swift Package Manger or SPM to add the toolkit to the SwiftUI app. Create a new Xcode project if you are starting or you can add a package to the existing project by going to File -> Add Package.
You do not have to use SPM there are other installation options like Cocoapods or Carthage. After clicking Add Package get the URL for the Auth0 swift spm package and put it in the top right box as shown in the image below and should see the package. Click Add Package button on the bottom right and it will add the package to your project.
This will add the Auth0 package and any dependencies for this package like JWTDecode and Simple Keychain.
I will be using Auth0 universal login to demo this integration for now but will go into more advanced implementations later. What it means is that we will use the login UI provided by Auth0 and all the features.
To get started first thing is to create an account on Auth0 you can follow this link to sign up for Auth0. Once you create the account you need to register your app with Auth0. From the home page go to Applications -> Applications and click Create Application
Enter a name for the app, and select Mobile option. In the Settings tab after you create app you can see the Domain and ClientId.
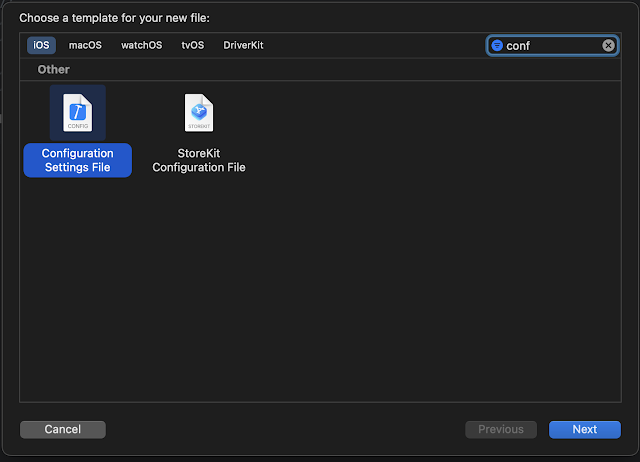
Add a new plist file to the project and add these to the newly added info plist file.
Note: You want to do this for testing the app but do not check in the secrets to remote repository. Check this article in which I explained how to use and store secrets in iOS app.
Once you finish the plist changes nexe thing is to build Allowed callback urls and logout urls. The format for Auth0 to build thse urls is format as below
{BUNDLE_IDENTIFIER}://{YOUR_DOMAIN}/ios/{BUNDLE_IDENTIFIER}/callback
The bundle identifier can be found as shown in image below. Copy the bundle identifier from project and build the url.
use the same url for Allowed Callback URLs and Allowed Logout URLs under the Application URIs section.
Once you update the callback urls and then createa user that you can use to login once you have the Auth0 integrated in the app. Go to User Management -> Users and create a new user. Let's write some code and get Auth0 working in the sample app. Add a new view that is going to display the basic UI to login and logout actions. Let's call it RootView
import SwiftUI
struct RootView: View {
@State var isLoggedIn = false
@StateObject var viewModel = RootViewModel()
var body: some View {
VStack(spacing: 20) {
if viewModel.isAuthenticated {
Text("Welcome")
Button(action: viewModel.logout) {
Text("logout")
}
} else {
Text("Welcome to codewithKarma")
Button(action: viewModel.login) {
Text("Login")
}
}
}
}
}
struct LoginView_Previews: PreviewProvider {
static var previews: some View {
RootView()
}
}
So we need 2 actions login and logout. Let's create the Viewmodel and add these functions in the viewmodel
import Auth0
import Combine
class RootViewModel: ObservableObject {
@Published var isAuthenticated = false
func login() {
Auth0
.webAuth()
.start { result in
switch result {
case .failure(let error):
print("Failed with: \(error)")
case .success(let credentials):
print(credentials)
self.isAuthenticated = true
}
}
}
func logout() {
Auth0
.webAuth()
.clearSession { result in
switch result {
case .failure(let error):
print("Failed with: \(error)")
case .success:
self.isAuthenticated = false
}
}
}
}
View the print output and try to play with the parameters and see what comes in the parameters,
Wrap up!
This is the most basic integration of Auth0 to the native iOS app using the Universal Login. I hope you will be able to achieve this, if you have any questions do let me know in comments.
Happy Coding!!


